How to deploy static HTML website on Heroku

I am Software Developer who loves to write blogs and create content about Programming, Career, Startups and Latest Technologies.
Heroku is a cloud platform as a service supporting several programming languages. One of the first cloud platforms, Heroku has been in development since June 2007, when it supported only the Ruby programming language, but now supports Java, Node.js, Scala, Clojure, Python, PHP, and Go.
In this tutorial, we will discuss how to deploy a simple static HTML website on Heroku.
Before getting started, there are two prerequisites for this-
We assume that you have the above prerequisite so we proceed with further steps. There are many four steps for deploying the static website on Heroku.
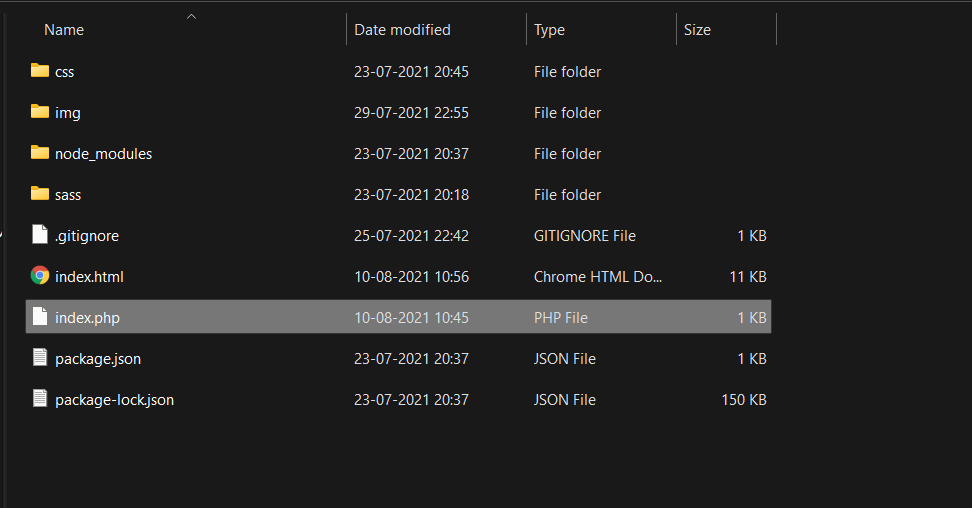
Step 1 : Go to the root directory of your project which you want to deploy. And then add a file named index.php in it by running touch index.php
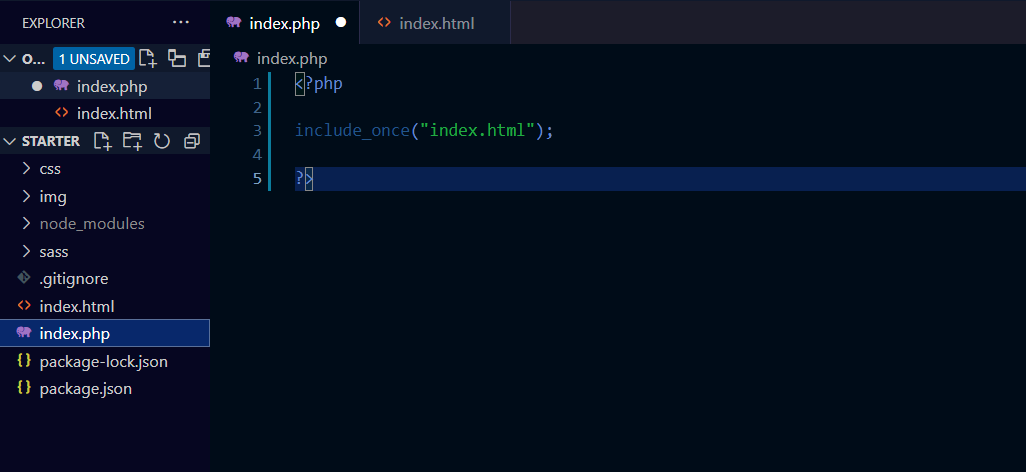
 Now add the following line in the index.php file
<?php
include_once("nameOfHtmlfile.html");
?>
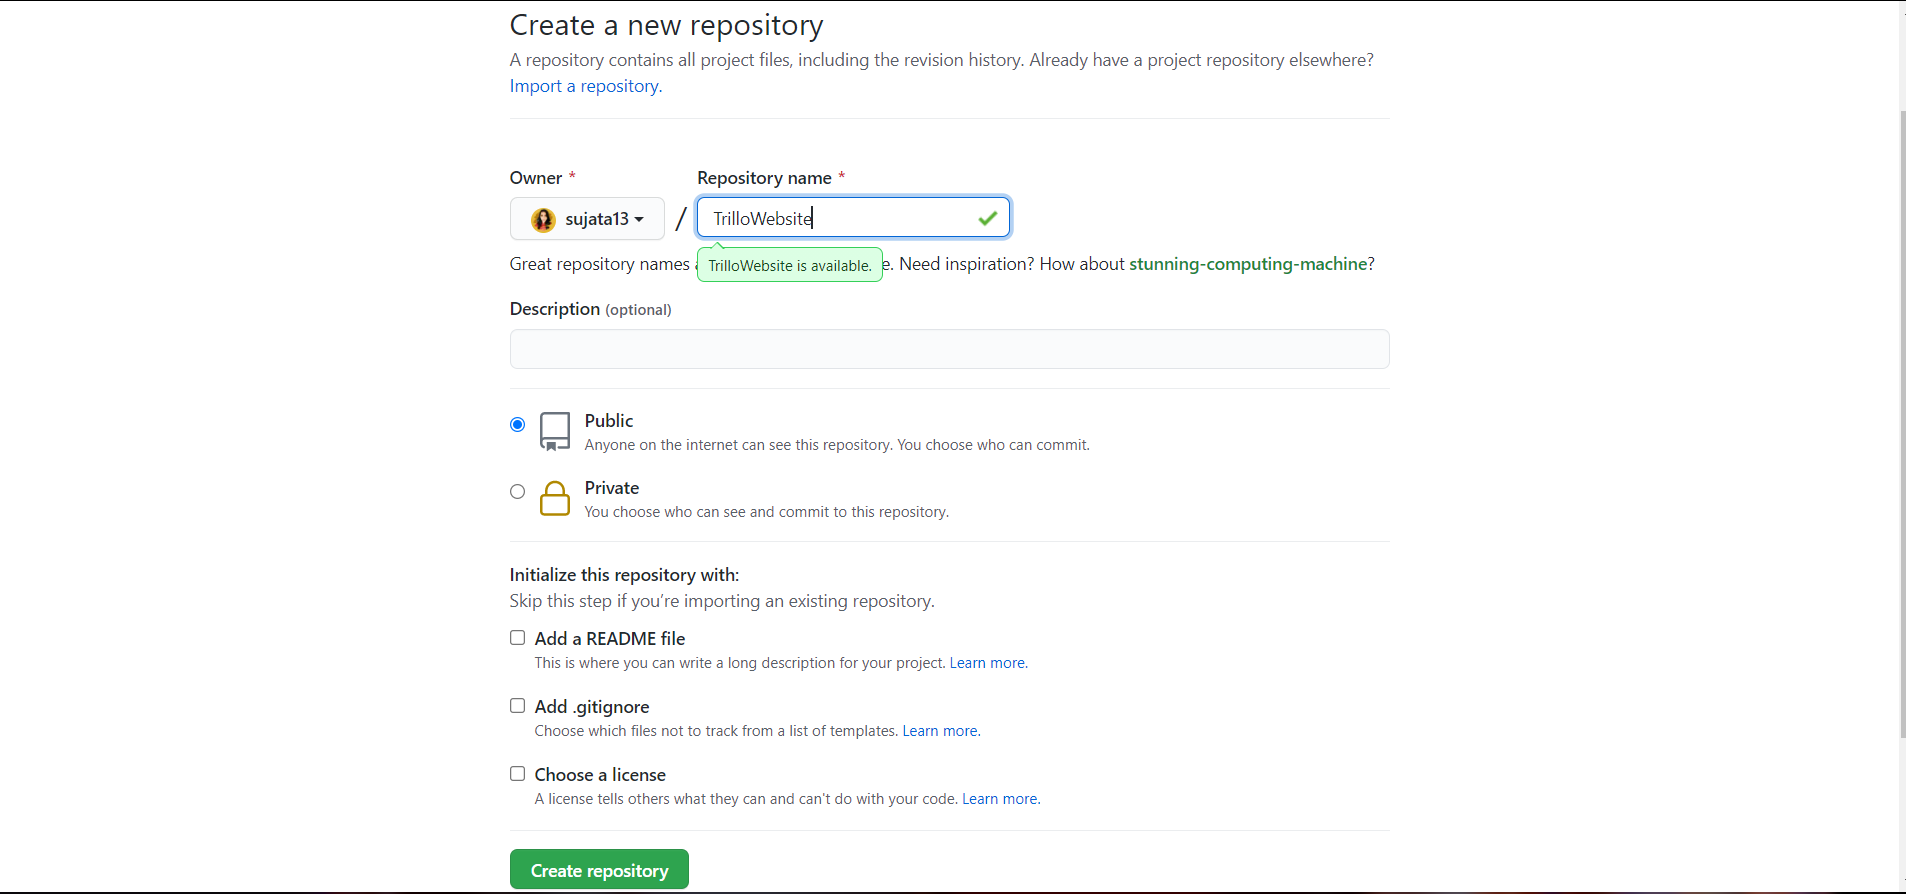
Step 2 : Go to GitHub then new repository and create a repository for the website.
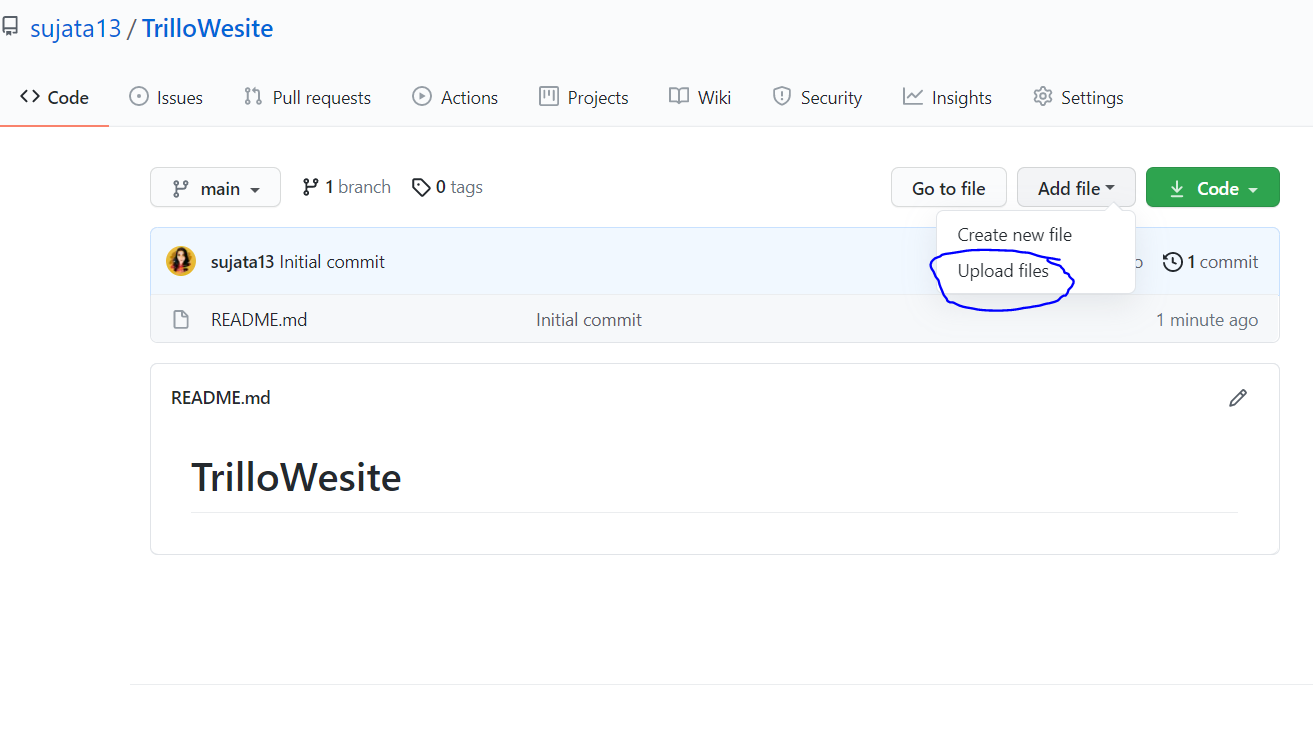
 Now go to the newly created repo and upload all files related to the website on GitHub.
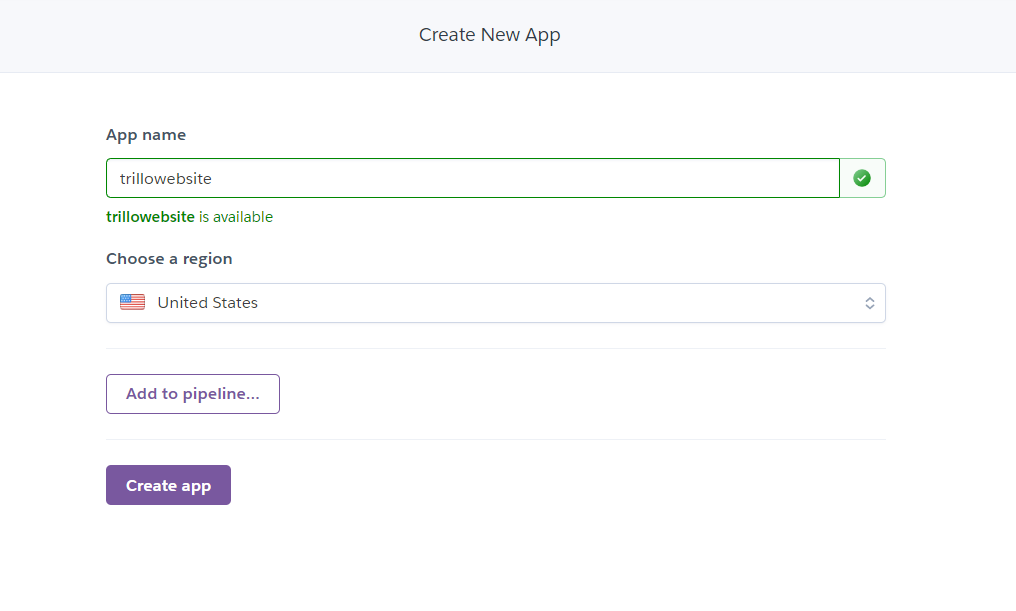
Step 3 : Now go to Heroku Dashboard and then click on create new app.

Then add app name and click on create app.
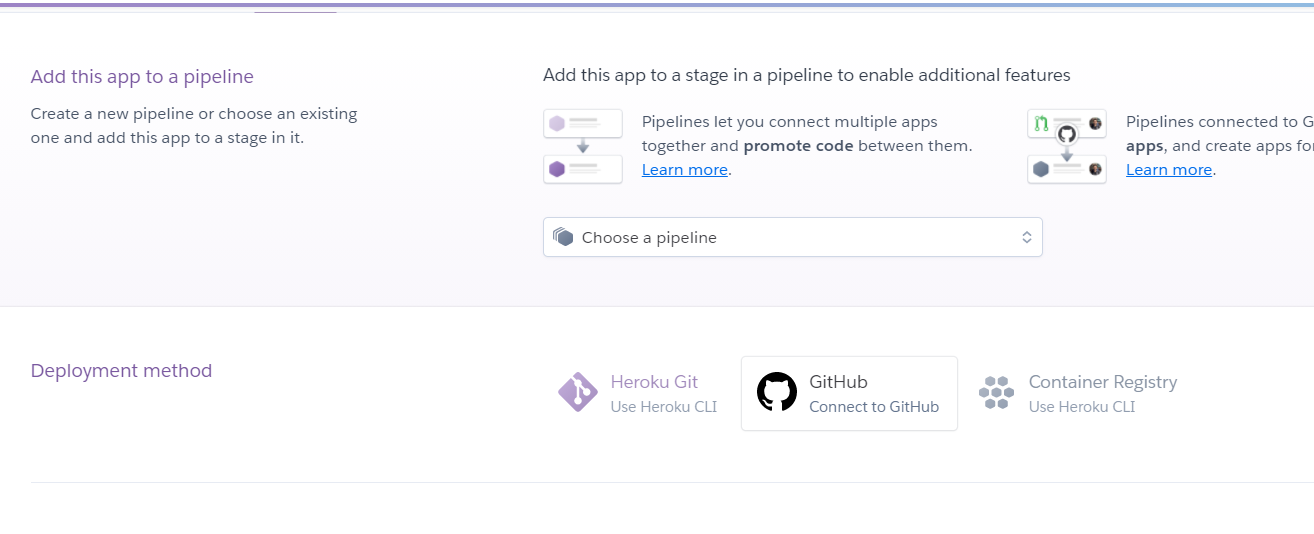
Step 4 : Go to Deployment method section. Here you can connect with your GitHub account by clicking on connect to GitHub.
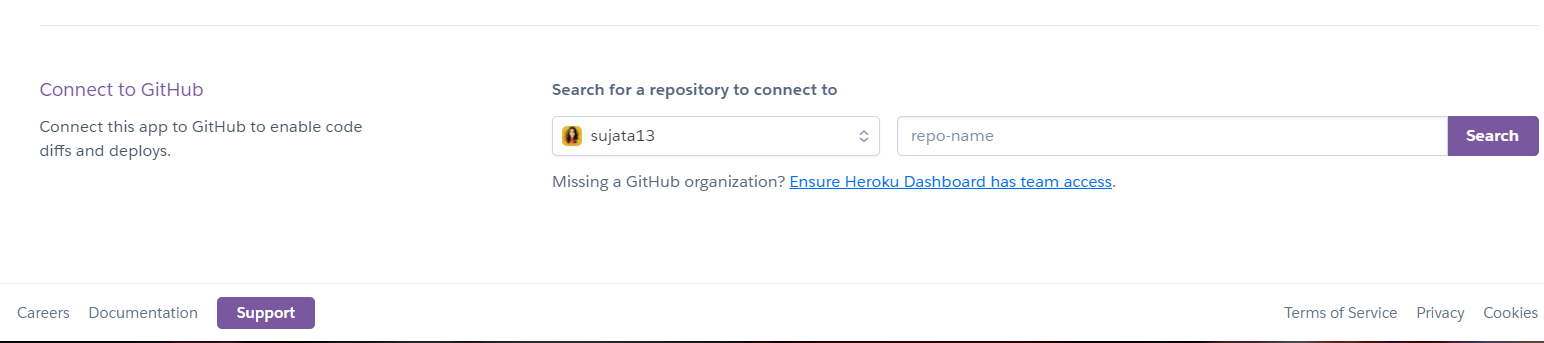
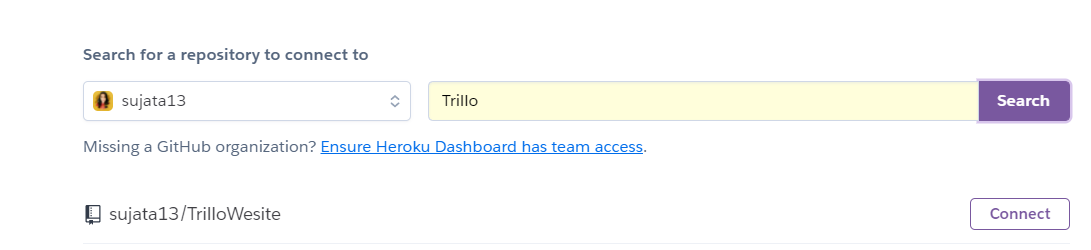
After that search the repository where you have uploaded your website files.
Then click on connect.
After that you will get two options for deployment.
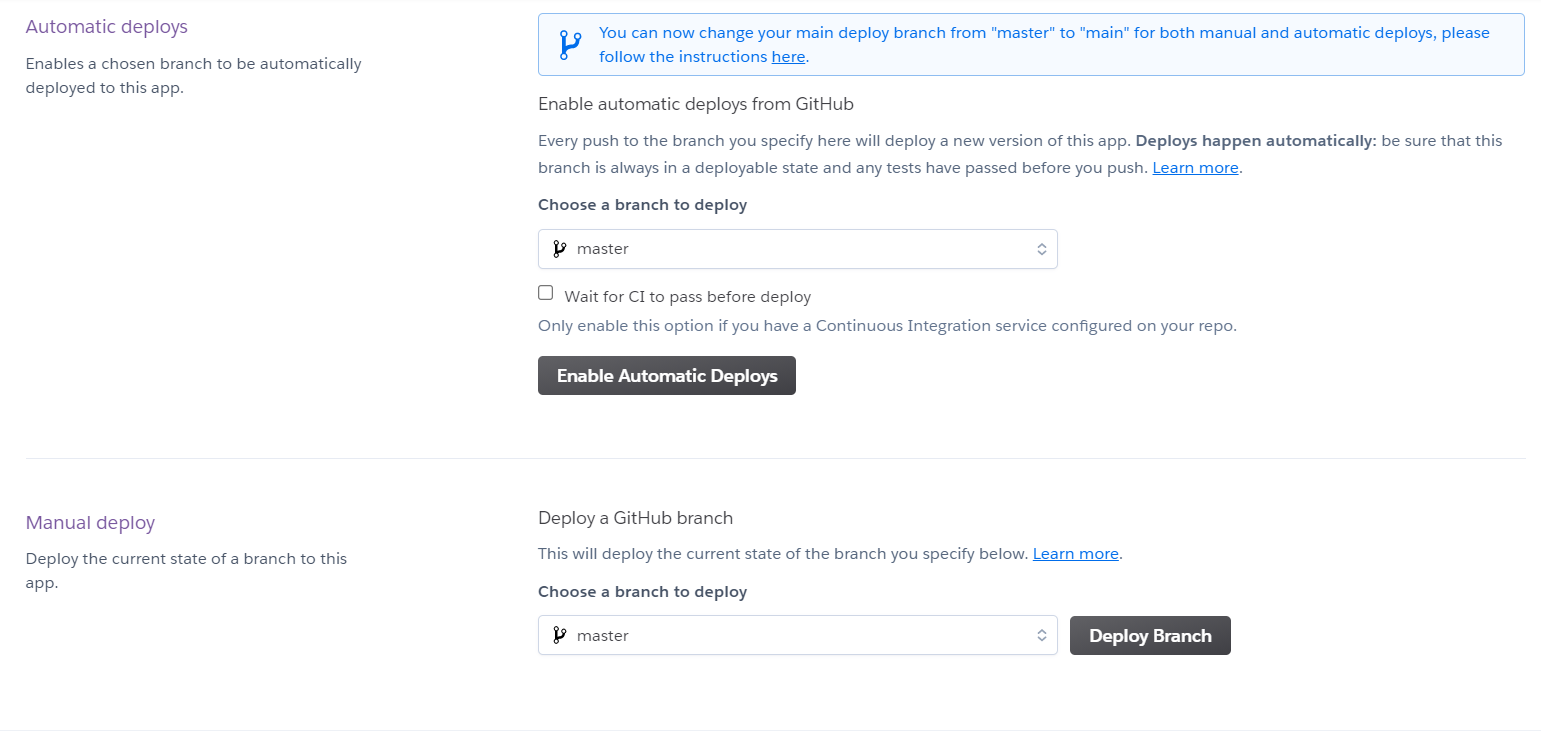
- Enable Automatic Deploys - By this every time you will make changes in your GitHub repository in the master branch all the changes will get automatically deployed and you don't have to manually deploy.
- Deploy Branch - By this, the master branch will get deployed. And in the future, if you make any changes to the master branch then you have to again deploy it in order to reflect it on your deployed website.
You can choose any of the above two options based on your requirement.
And then your website will get deployed.
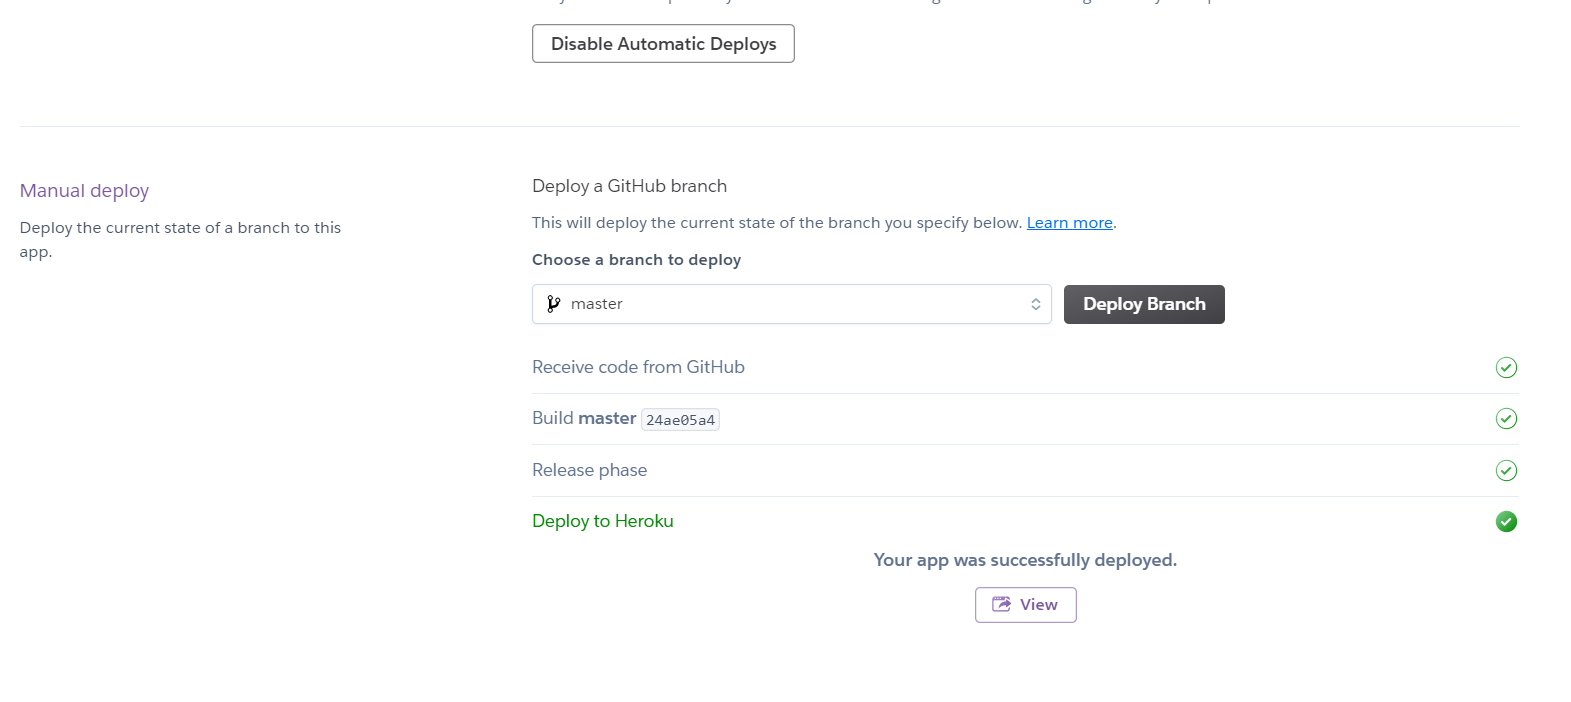
You can view your deployed website by clicking on view.
Hope this tutorial will be helpful for you.
Thank you for reading, please like the article, it will encourage me to write more such articles. Do share your valuable suggestions in the comments, I appreciate your honest feedback! I would love to connect with you at Twitter and LinkedIn.


